Vaporesso

Original price
Dhs. 90.00
-
Original price
Dhs. 90.00
Original price
Dhs. 90.00
Dhs. 90.00
-
Dhs. 90.00
Current price
Dhs. 90.00
VAPORESSO XROS 2 16W POD SYSTEM
Vaporesso
In stock
VAPORESSO XROS 2 16W KIT Vaporesso XROS 2 16W Pod System, featuring a 1000mAh battery, dual firing systems, and compatibility with both the Mesh an...
View full details
Original price
Dhs. 90.00
-
Original price
Dhs. 90.00
Original price
Dhs. 90.00
Dhs. 90.00
-
Dhs. 90.00
Current price
Dhs. 90.00
Original price
Dhs. 95.00
-
Original price
Dhs. 95.00
Original price
Dhs. 95.00
Dhs. 95.00
-
Dhs. 95.00
Current price
Dhs. 95.00
VAPORESSO XROS 3 KIT
Vaporesso
In stock
VAPORESSO XROS 3 KIT Quick Links:Compatibility:Vaporesso XROS PodsVaporesso XROS 3 PodsVaporesso XROS 3 Pod System Features:• Dimensions: 115.1mm b...
View full details
Original price
Dhs. 95.00
-
Original price
Dhs. 95.00
Original price
Dhs. 95.00
Dhs. 95.00
-
Dhs. 95.00
Current price
Dhs. 95.00
Original price
Dhs. 95.00
-
Original price
Dhs. 95.00
Original price
Dhs. 95.00
Dhs. 95.00
-
Dhs. 95.00
Current price
Dhs. 95.00
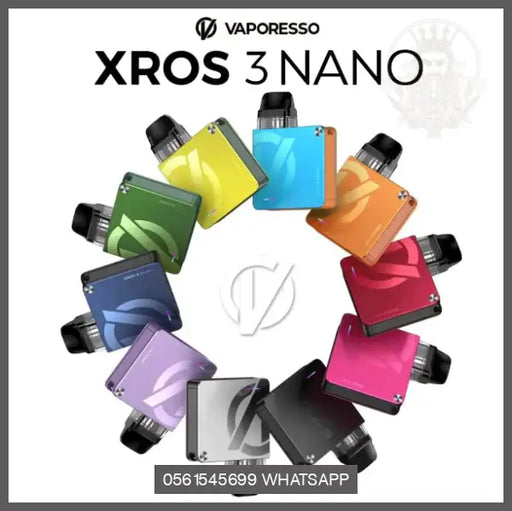
VAPORESSO XROS 3 NANO KIT
Vaporesso
In stock
VAPORESSO XROS 3 NANO KIT Experience the Vaporesso XROS 3 Nano Kit, boasting a 1000mAh battery, draw-activated firing, and unbeatable flavor a...
View full details
Original price
Dhs. 95.00
-
Original price
Dhs. 95.00
Original price
Dhs. 95.00
Dhs. 95.00
-
Dhs. 95.00
Current price
Dhs. 95.00
Original price
Dhs. 45.00
-
Original price
Dhs. 45.00
Original price
Dhs. 45.00
Dhs. 45.00
-
Dhs. 45.00
Current price
Dhs. 45.00
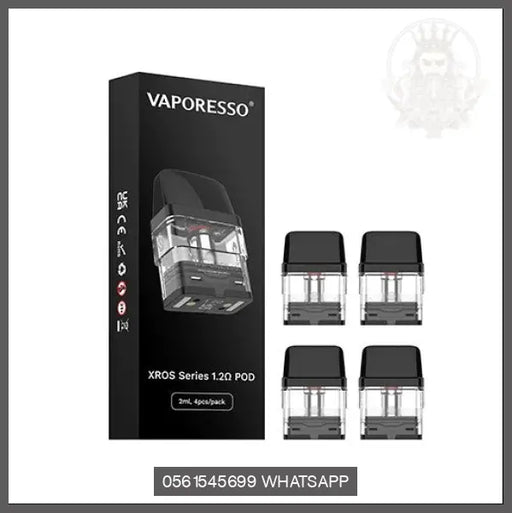
VAPORESSO XROS 3 REPLACEMENT PODS
Vaporesso
In stock
Buy Xros 3 vape kit Vaporesso XROS 3 Replacement Pods, Features:• Pod Capacity: 2mL• Construction: PCTG• Fill-System: Top-Fill - Removeable Cap• Po...
View full details
Original price
Dhs. 45.00
-
Original price
Dhs. 45.00
Original price
Dhs. 45.00
Dhs. 45.00
-
Dhs. 45.00
Current price
Dhs. 45.00

Original price
Dhs. 140.00
Original price
Dhs. 140.00
-
Original price
Dhs. 140.00
Original price
Dhs. 140.00
Current price
Dhs. 125.00
Dhs. 125.00
-
Dhs. 125.00
Current price
Dhs. 125.00
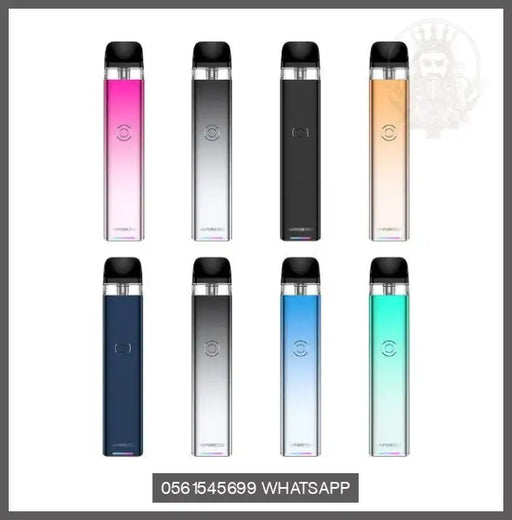
VAPORESSO XROS 4 POD KIT
Vaporesso
In stock
VAPORESSO XROS 4 POD KIT Introducing the Vaporesso XROS 4 Pod Kit, with a sleek aluminum body, triple output options, and adjustable airflow for ...
View full details
Original price
Dhs. 140.00
Original price
Dhs. 140.00
-
Original price
Dhs. 140.00
Original price
Dhs. 140.00
Current price
Dhs. 125.00
Dhs. 125.00
-
Dhs. 125.00
Current price
Dhs. 125.00
Save 11%

Original price
Dhs. 85.00
-
Original price
Dhs. 85.00
Original price
Dhs. 85.00
Dhs. 85.00
-
Dhs. 85.00
Current price
Dhs. 85.00
VAPORESSO XROS MINI POD SYSTEM
Vaporesso
In stock
VAPORESSO XROS MINI POD SYSTEM Buy Vaporesso XROS Pods mbued with XROS DNA , the XROS MINI is the newest member of XROS Family. The XROS MINI pro...
View full details
Original price
Dhs. 85.00
-
Original price
Dhs. 85.00
Original price
Dhs. 85.00
Dhs. 85.00
-
Dhs. 85.00
Current price
Dhs. 85.00

Original price
Dhs. 110.00
-
Original price
Dhs. 110.00
Original price
Dhs. 110.00
Dhs. 110.00
-
Dhs. 110.00
Current price
Dhs. 110.00
VAPORESSO XROS NANO POD SYSTEM
Vaporesso
Low stock
Quick Links:Vaporesso XROS Pods Vaporesso XROS Nano Pod System Features:AXON ChipsetDimensions - 63.1mm by 48.8mm by 14.9mmIntegrated 1000mAh Batte...
View full details
Original price
Dhs. 110.00
-
Original price
Dhs. 110.00
Original price
Dhs. 110.00
Dhs. 110.00
-
Dhs. 110.00
Current price
Dhs. 110.00

Original price
Dhs. 35.00
-
Original price
Dhs. 35.00
Original price
Dhs. 35.00
Dhs. 35.00
-
Dhs. 35.00
Current price
Dhs. 35.00
VAPORESSO XROS REPLACEMENT PODS
Vaporesso
Out of stock
Discover the Vaporesso XROS Pods (2-PACK), featuring a 2mL refillable pod capacity, hidden top fill system, and utilizes a mesh coil heating struct...
View full details
Original price
Dhs. 35.00
-
Original price
Dhs. 35.00
Original price
Dhs. 35.00
Dhs. 35.00
-
Dhs. 35.00
Current price
Dhs. 35.00
Sold out

Original price
Dhs. 100.00
-
Original price
Dhs. 100.00
Original price
Dhs. 100.00
Dhs. 100.00
-
Dhs. 100.00
Current price
Dhs. 100.00
Vaporesso ZERO 2 Pod System
Vaporesso
In stock
ZERO 2 is packed with refreshing upgrades within its minimalist and user-friendly design. CCELL pod and MESH pod, the most optimum pod systems make...
View full details
Original price
Dhs. 100.00
-
Original price
Dhs. 100.00
Original price
Dhs. 100.00
Dhs. 100.00
-
Dhs. 100.00
Current price
Dhs. 100.00

Original price
Dhs. 30.00
-
Original price
Dhs. 30.00
Original price
Dhs. 30.00
Dhs. 30.00
-
Dhs. 30.00
Current price
Dhs. 30.00
VAPORESSO ZERO 2 REPLACEMENT PODS
Vaporesso
Out of stock
Check out the Vaporesso ZERO 2 Pods (2-Pack), featuring a 3mL capacity, bottom press-to-fill system, and comes in a 1.0ohm Mesh or 1.3ohm CCELL Pod...
View full details
Original price
Dhs. 30.00
-
Original price
Dhs. 30.00
Original price
Dhs. 30.00
Dhs. 30.00
-
Dhs. 30.00
Current price
Dhs. 30.00
Sold out